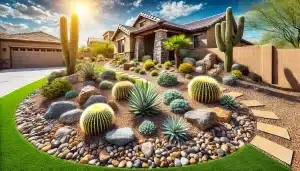
Transforming your backyard into a cozy retreat is a dream for many homeowners. At Red Mountain Landscaping, we understand that starting a DIY patio project can seem daunting. Fear not! Our step-by-step guide will help you build the perfect patio oasis, making your outdoor space beautiful and functional. Get ready to impress your friends and family!
Contents
Planning Your DIY Patio
The first step in any successful project is thorough planning. With a clear plan, you’ll save time, money, and avoid unnecessary headaches.
Consider the purpose of your patio. Do you envision it as an entertainment hub, a relaxing corner, or a family space? Identifying the purpose helps you choose the right size and materials. Additionally, take the time to sketch a basic layout. This visual guide ensures your project stays on track.
Gathering Materials and Tools
Once your plan is ready, it’s time to collect all necessary materials and tools. Having everything on hand keeps the momentum going strong.
- Paving Materials: Choose from bricks, concrete, or natural stones. Each option offers unique aesthetic and durability qualities.
- Sand and Gravel: These provide a stable base and prevent future sinking or shifting of the patio surface.
- Essential Tools: Make sure to have a shovel, level, tamper, and rubber mallet. Tools like these will make the construction process efficient and straightforward.
Preparing the Site
Site preparation is crucial for a lasting patio. Don’t skip this step!
Begin by marking the perimeter of your patio area. Use stakes and string to outline the precise shape. Next, dig to a depth of 6-8 inches. This depth supports a strong foundation. Remember to remove any grass, rocks, or debris as you go.
Once the site is cleared, lay down a layer of gravel. Spread it evenly and compact it using a tamper. This ensures proper drainage and a solid base.
Installing the Paving Surface
This is where your patio starts to take shape. Installing the paving surface requires attention to detail.
Spread a 1-inch layer of sand over the compacted gravel. Use a screed to level the sand, creating a flat surface for the pavers. Begin laying your chosen pavers from one corner, working your way out methodically. Check frequently with a level, ensuring each piece aligns perfectly.
As you place the pavers, leave a small gap between each one. These spaces will later be filled with sand to secure the pavers in place. Use a rubber mallet to tap each paver firmly into the sand. This step enhances stability and prevents future movement.
Finishing Touches
Now that the hard work is done, it’s time for the fun part—adding those personal touches!
Fill the gaps between pavers with fine sand. Brush the sand into the joints with a broom, and mist lightly with water to help it settle. Repeat until the gaps are completely filled. Finally, consider sealing the pavers to enhance longevity and color vibrancy.
- Furniture and Decor: Select outdoor furniture that complements your patio style. Accessories like cushions and plants create a welcoming atmosphere.
- Lighting: Incorporate string lights or lanterns for a cozy, magical ambiance during evening gatherings.
Maintaining Your New Patio
Keep your patio looking brand new with regular maintenance. It’s simpler than it sounds.
Perform a quick sweep and hose down monthly to remove dirt and debris. For more stubborn stains, a gentle power wash works wonders. Don’t forget to inspect for any areas that might need additional sand or repairs.
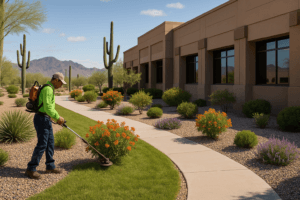
Why Choose Red Mountain Landscaping
Although DIY can be rewarding, it sometimes requires expert assistance. That’s where we come in!
At Red Mountain Landscaping, we offer professional advice and Services to ensure your patio project is a success. Our knowledgeable team is ready to help, from choosing materials to tackling complex installations. Should you ever need a helping hand, we’re just a call away.
Elevate your outdoor space with our expertise. Contact Us by phone at 480-373-9312 or Request a Free Quote to start your project today!